


How to Smooth 3D Prints: Easy Methods for a Professional Finish
Most makers find this answer the first time they pull a print off the build plate and realize the layer lines are still visible from across the room. The good news lands fast: slicer settings prevent most of the problem before it starts, and what they miss, sandpaper finishes in under an hour. No expensive tools. No chemicals. No starting the print over.
The harder questions are the ones nobody warns you about — which grit to start with, when sanding stops being worth the effort, and which methods are safe enough to do at the kitchen table with a kid in the room. This guide covers the prevention-first slicer setup, the five-grit sanding sequence, three no-sand alternatives, and the rare case where chemical smoothing is actually worth it. The whole workflow works on the kind of PLA-based hardware that ships with AOSEED's family-friendly 3D printing platform.
|
TL;DR Drop layer height to 0.12 mm and turn on ironing in your slicer — that handles most of the work before the print finishes. For touch-up, wet-sand from 220 to 600 grit, then optionally finish with a coat of filler primer. Heat guns and acetone vapor are adults-only methods and only worth using on the right material. PLA prints respond beautifully to the gentler methods; the harsh chemical methods aren’t needed. |
Before You Start Smoothing
Three things have to line up before any of the methods below earn their time.
A print worth finishing
Some prints aren’t. A model with warped corners or a failed bed-adhesion ring isn’t getting saved by sandpaper. Skip the bad prints, re-slice with better settings, and finish only what comes off the bed cleanly. The trick is recognizing the difference: layer lines are fine to sand, but layer separation, ringing, and ghosting are slicer problems that no amount of post-processing fixes.
The right method for the material
PLA, the default for kid-friendly printers, smooths cleanly with sanding, filler primer, and epoxy. ABS responds to acetone vapor for a glass-smooth finish — but it isn’t a kid-friendly material and isn’t what most family printers ship with. PETG sits between, smoothing with patience but never as cleanly as either. Match the method to what your printer actually prints.
Workspace and safety
A small table. Decent light. A vacuum or wet wipe nearby. For sanding kids’ prints, safety glasses and a simple dust mask are smart at any age. For anything involving heat guns, spray primer, or solvents — adults only, well-ventilated space, no exceptions.
|
Quick tip Confirm what filament your printer uses before picking a method. Almost every consumer printer that ships under $400 runs PLA by default. AOSEED’s family lineup is PLA-friendly, which means sanding and primer are the go-to methods, not solvent vapor. |
Why a Smoother Print Is Worth the Effort
Layer lines aren’t just cosmetic. They catch grime, chip on impact, and make paint pool unevenly. The math is straightforward — print at 0.2 mm layer height and the model gets a visible ridge every 0.2 mm. Drop to 0.05 mm and the lines nearly disappear.
Research catalogued by NIH PubMed Central documented FDM PLA surface roughness between 2.46 and 22.48 micrometers depending on layer height, fill density, and speed — a tenfold range that depends entirely on choices made in the slicer. A NIST study on additive-manufacturing post-processing concluded that AM parts almost always need finishing before they meet the standards of machined parts.
The practical payoff
- Gears and hinges turn with less friction and last longer
- Paint and primer adhere evenly instead of pooling between ridges
- Game pieces and toys feel store-bought in a kid’s hand
- Display models photograph cleaner under any kind of light
Print Smoother From the Start: Slicer Settings That Help
The fastest way to a smooth print is to never need post-processing. Four slicer changes cut surface roughness at the source.
|
Setting |
Standard |
For Smoothness |
Trade-off |
|
Layer height |
0.2 mm |
0.12 mm |
+60–80% print time |
|
Outer wall speed |
60 mm/s |
40–50 mm/s |
+10–15% print time |
|
Print temp (PLA) |
210°C |
200–205°C |
None (tune with a temp tower) |
|
Ironing (top layer) |
Off |
On, 10–15% flow |
+10–20% print time |
Lower Layer Height for Cleaner Lines
Layer height is the single biggest factor controlling surface roughness — more than every other slicer setting combined, according to a peer-reviewed PLA study in MDPI Applied Sciences. Cutting from 0.2 mm to 0.12 mm makes layer lines roughly 40% less visible without touching the print afterward.
The trade-off is print time. A four-hour print at 0.2 mm jumps to six or seven hours at 0.12 mm. For display models, gifts, or anything that will get painted, the math works out — the hours saved on sanding pay back the extra print time.
|
Quick tip Layer height should sit between 25% and 75% of nozzle diameter. With a standard 0.4 mm nozzle, that means 0.1–0.3 mm. Go below 0.1 mm and prints get stringy; above 0.3 mm and layers fail to bond properly. |
Get Print Temperature and Speed Right
Too hot and you’ll see strings and blobs on the outside walls. Too cold and the layers won’t bond, leaving rough patches where the print never fully fused. PLA usually prints clean between 200°C and 210°C. PETG runs hotter — 230°C to 245°C. Every spool is a little different, so run a temperature tower the first time you load a new brand of filament.
Slower outer walls do most of the visible work. Drop wall speed to 40–50 mm/s and leave infill at 60–80 mm/s. The printer spends more time on the parts that show, less on the parts hidden inside the model.
Turn On Ironing for Flat Top Surfaces

Ironing is the most underused setting in beginner 3D printing. The hot nozzle runs back over each finished top layer with almost no extrusion, melting the surface just enough to even it out. The result looks almost injection-molded.
For boxes, plaques, nameplates, picture frames, or anything with a visible flat top, ironing earns its 10–20% added print time. Set flow to 10–15% and speed to about 20 mm/s. Higher flow creates bumps — keep the numbers low and let the heat do the work.
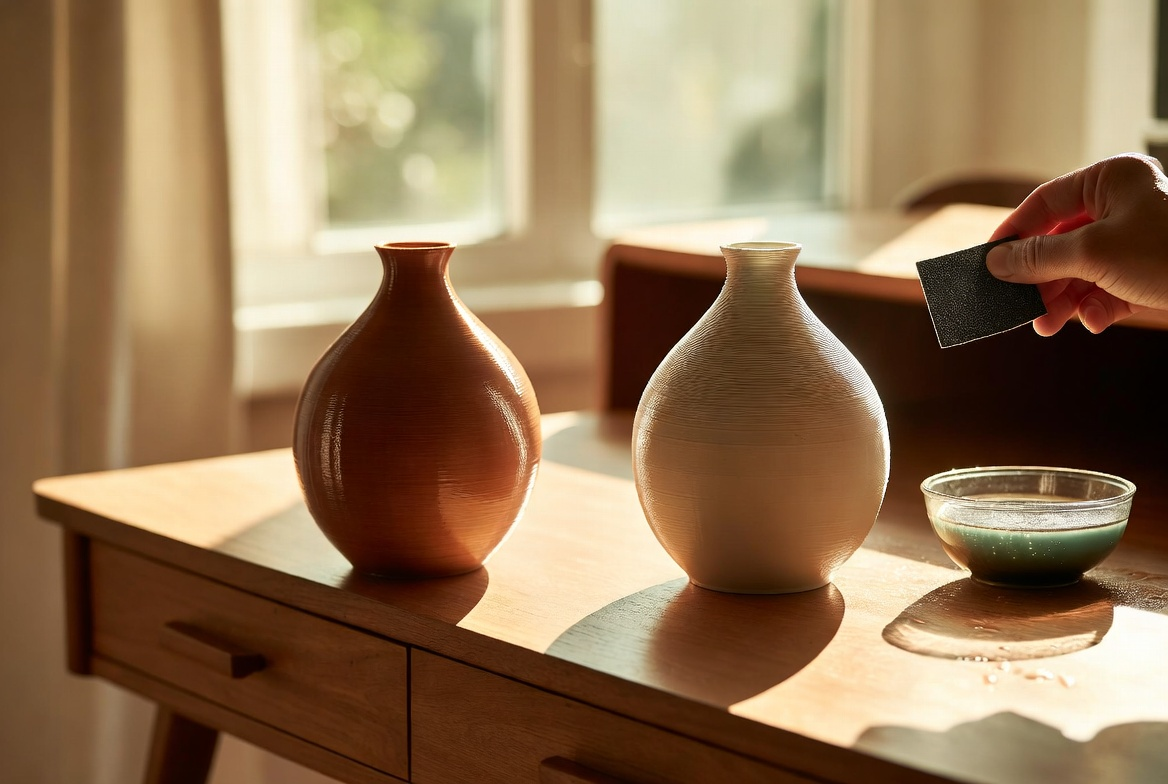
How to Sand 3D Prints Step by Step

Sanding works on every common consumer filament: PLA, PETG, ABS, ASA, even nylon. It’s slow and dusty, but the results are forgiving. Small mistakes get fixed by the next grit.
|
What you’ll need Sandpaper in 120, 220, 400, and 600 grits (add 1000+ for mirror finish); a small sanding block for flat surfaces; a soft sanding sponge for curves; a bowl of water plus one drop of dish soap (for wet sanding); safety glasses and a simple dust mask. |
Grit Progression and Pressure
One rule: never skip more than one grit. Jumping from 120 straight to 600 leaves scratches that show through paint. The full sequence for a smooth finish looks like this:
- 120–180 grit — Knocks down obvious layer lines and support marks. Skip this if your starting layer height was already 0.15 mm or finer.
- 220 grit — Erases the scratches from the coarse pass. Most kid prints can start here.
- 320 grit — Begins the smoothing stage. Switch to wet sanding around this point.
- 400 grit — Eliminates fine scratches and preps the surface for paint or primer.
- 600 grit — Ready-to-paint smoothness. Stop here for most family projects.
- 1000–2000 grit — Mirror finish. Reserved for display pieces and clear coatings.
Pressure matters as much as grit. Light, even strokes with a sanding block keep flat surfaces flat. Press too hard and you’ll round off edges, flatten detail, and generate heat that softens PLA faster than expected.
Wet Sanding vs Dry Sanding
Wet sanding is the safer default for PLA. Water keeps the surface cool, which matters because PLA softens around 60°C — friction from a brisk sanding session can push it there in under a minute. Water also captures dust before it ends up in your lungs. A single drop of dish soap adds enough slip that the sandpaper glides instead of catching.
Dry sanding works better for ABS, PETG, and nylon. Those plastics handle heat better and clog wet sandpaper faster. The downside is dust — wear a mask if you’re sanding dry for more than a couple of minutes.
|
Wet sanding |
Dry sanding |
|
|
Best for |
PLA |
ABS, PETG, nylon |
|
Speed |
Slower |
Faster |
|
Mess |
Slurry to wipe up |
Fine dust to vacuum |
|
Heat risk |
Very low |
Moderate |
|
Mask required? |
No |
Yes |
Tools and Safety Notes for Families
A small sanding block, a few sheets of progressive grit sandpaper, and a bowl of water will handle most family projects. Soft sanding sponges curve around organic shapes — perfect for printed animals or figurines. Precision files (the small triangular kind from any hardware store) reach tight spaces and undercuts the block can’t.
|
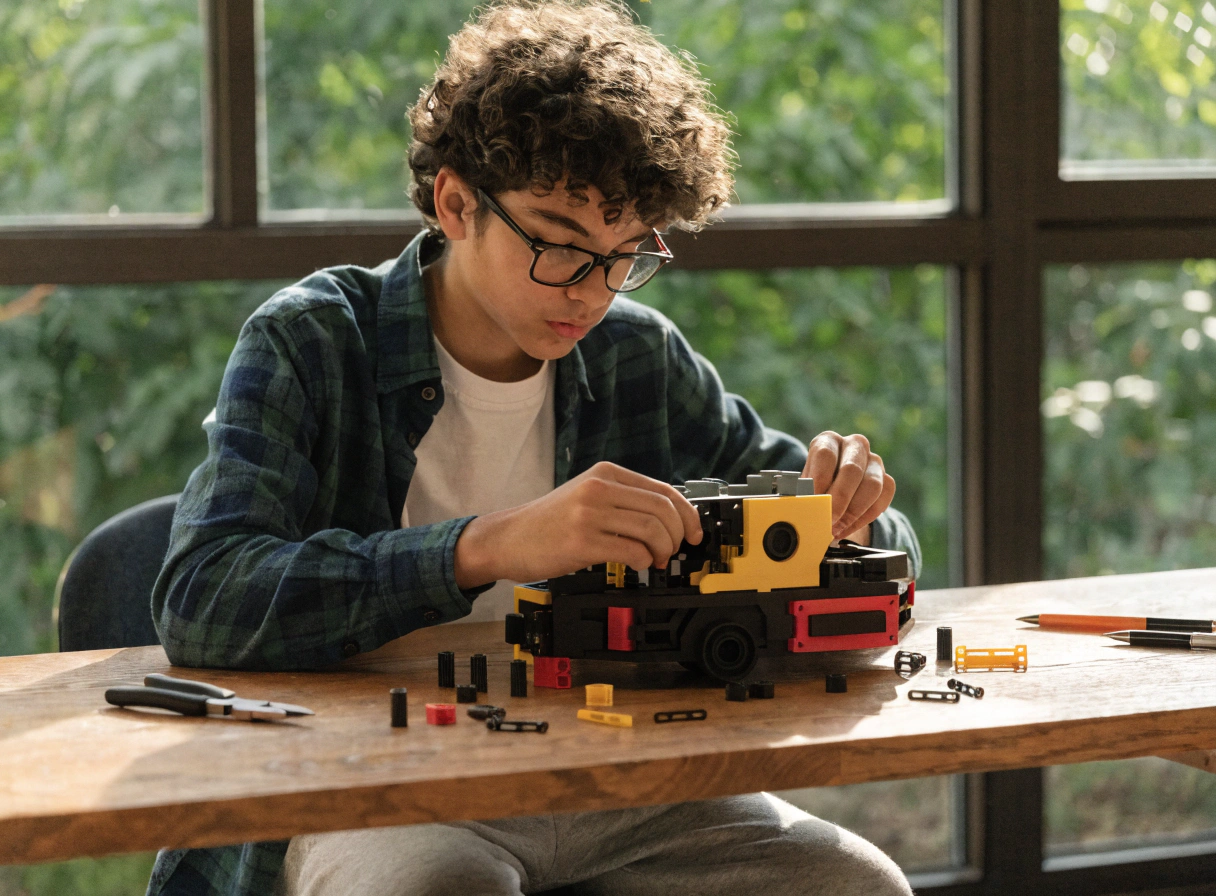
Family-friendly tip Sanding is one of the better supervised activities for kids around age 8 and up. Younger kids can help with the wet sanding stage using 400+ grit — almost no dust. Hand them safety glasses and a simple dust mask either way. The motion is calming, the result is immediate, and the kid gets to brag about doing the "real work" on their print. |
No-Sand Methods: Coatings, Primers, and Heat
Sometimes there’s no time to sand through five grits. Three faster methods get most of the way there.
Filler Primer for Quick Wins
Filler primer is thick spray paint loaded with solids that pile up in layer-line gaps as the paint dries. Two or three light coats turn a ridged surface into a uniform matte ready for color.
Quick steps
- Knock off obvious high points with 180-grit sandpaper (skip if your layer height was 0.15 mm or finer)
- Spray a light first coat, holding the can 8–10 inches from the print
- Wait 15 minutes
- Light pass with 400-grit between coats
- Repeat for 2–3 total coats
- Final sand with 600-grit if a smooth painted finish is the goal
Filler primer works on PLA, PETG, and ABS without compatibility issues. Extra coats fill more lines without much risk to detail, so you can keep adding until the surface looks right.
Epoxy Resin for a Glass-Smooth Finish

For a glossy, glass-like surface, two-part epoxy resin is hard to beat. It self-levels into every gap and cures into a hard, scratch-resistant shell. Brushed-on epoxy adds 0.1–0.5 mm of thickness, enough to soften very fine detail — not the right choice for a model with sharp edges or fine text.
Quick steps
- Mix the two parts of the epoxy according to the bottle (usually 1:1)
- Brush a thin layer onto the print with a disposable foam brush
- Rotate the part slowly for the first 20 minutes to keep coverage even
- Cure for 24–48 hours, undisturbed, in a dust-free spot
- Wet-sand with 1000+ grit if you want a polished finish over the cured epoxy
Epoxy is sticky, the fumes are strong, and cleanup is a chore. Adults handle the mixing and brushing; kids admire the result.
Heat Smoothing — Use With Caution
|
Adults only Heat guns reach 600°F (315°C) or higher and can cause burns, fires, and toxic fumes. Not a kids’ project. Never unsupervised. |
A heat gun on low can melt the outer surface of a PLA print just enough to smooth visible layer lines. Hold the gun 6–8 inches from the print, keep it moving in slow passes, and stop the moment the surface starts looking glossy. One pass too slow and the model warps, sags, or grows bubbles that can’t be fixed. Work outside or in a well-ventilated garage, and test on a scrap print first.
Of every method covered here, heat smoothing has the lowest success rate for beginners. Try it last, after the gentler methods are familiar.
Chemical Vapor Smoothing for ABS — Strictly Adults Only
Acetone vapor smoothing dissolves the outer layer of ABS prints, leaving a glossy, almost injection-molded finish in 15–30 minutes. The catch: it only works on ABS, ASA, and HIPS. Pour acetone on a PLA print and it does nothing useful — PLA doesn’t dissolve in acetone at any concentration.
For families running PLA printers, this method isn’t relevant. PLA is the safer and less smelly filament for home use, which is why most kid-friendly hardware ships with PLA settings. If you have a separate ABS-capable printer in a dedicated workshop, the process is simple in steps but unforgiving in safety:
- Sealed glass container, big enough for the print with at least 2 inches of clearance
- Acetone-soaked paper towels lining the inside, not touching the print
- 15 minutes of vapor exposure at room temperature
- 24 hours of air-drying before handling
Required gear: gloves, safety glasses, a respirator, and strong ventilation. Keep acetone work far from children, open flames, and household pets.
Match the Method to the Material and Project

The right smoothing method comes down to what you printed and who’s doing the finishing work.
|
Project / Material |
Best first method |
Backup |
Kid-friendly? |
|
PLA toy or figurine |
Wet sand 220–600 grit |
Filler primer |
Yes, age 8+ supervised |
|
PLA print for painting |
Filler primer |
Light sand 220 grit |
Sanding yes; spraying adults |
|
PETG functional part |
Dry sand progressive grits |
Filler primer |
With mask + supervision |
|
ABS prop or cosplay piece |
Acetone vapor smoothing |
Sanding |
Adults only |
|
Display model or gift |
Epoxy resin coat |
Filler primer + paint |
Adults handle the coat |
|
Top-only flat surface |
Ironing in slicer |
Wet sand 400+ |
Automatic — slicer setting |
For most kid projects printed in PLA, a 0.12 mm layer height plus light wet sanding handles around 90% of the work. Filler primer is the strong next step when paint is involved. Families just getting started should browse the kid-friendly 3D printers built for beginners — those print clean enough to skip most heavy post-processing. For older kids and teens tackling more advanced builds where finish actually matters, the STEM 3D printer for older kids and teens from AOSEED prints at the layer-height precision that makes any of these methods easier from the start.
|
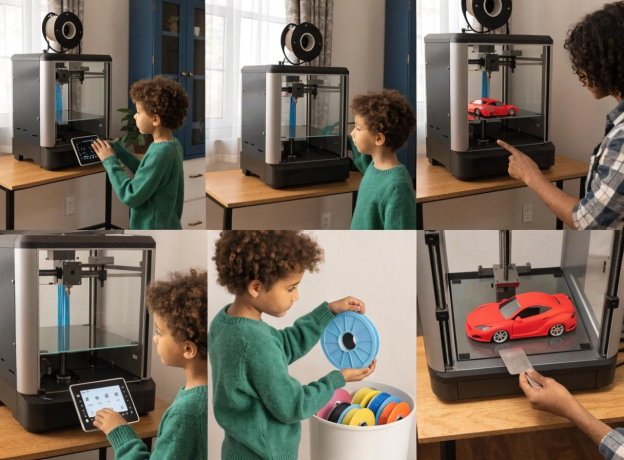
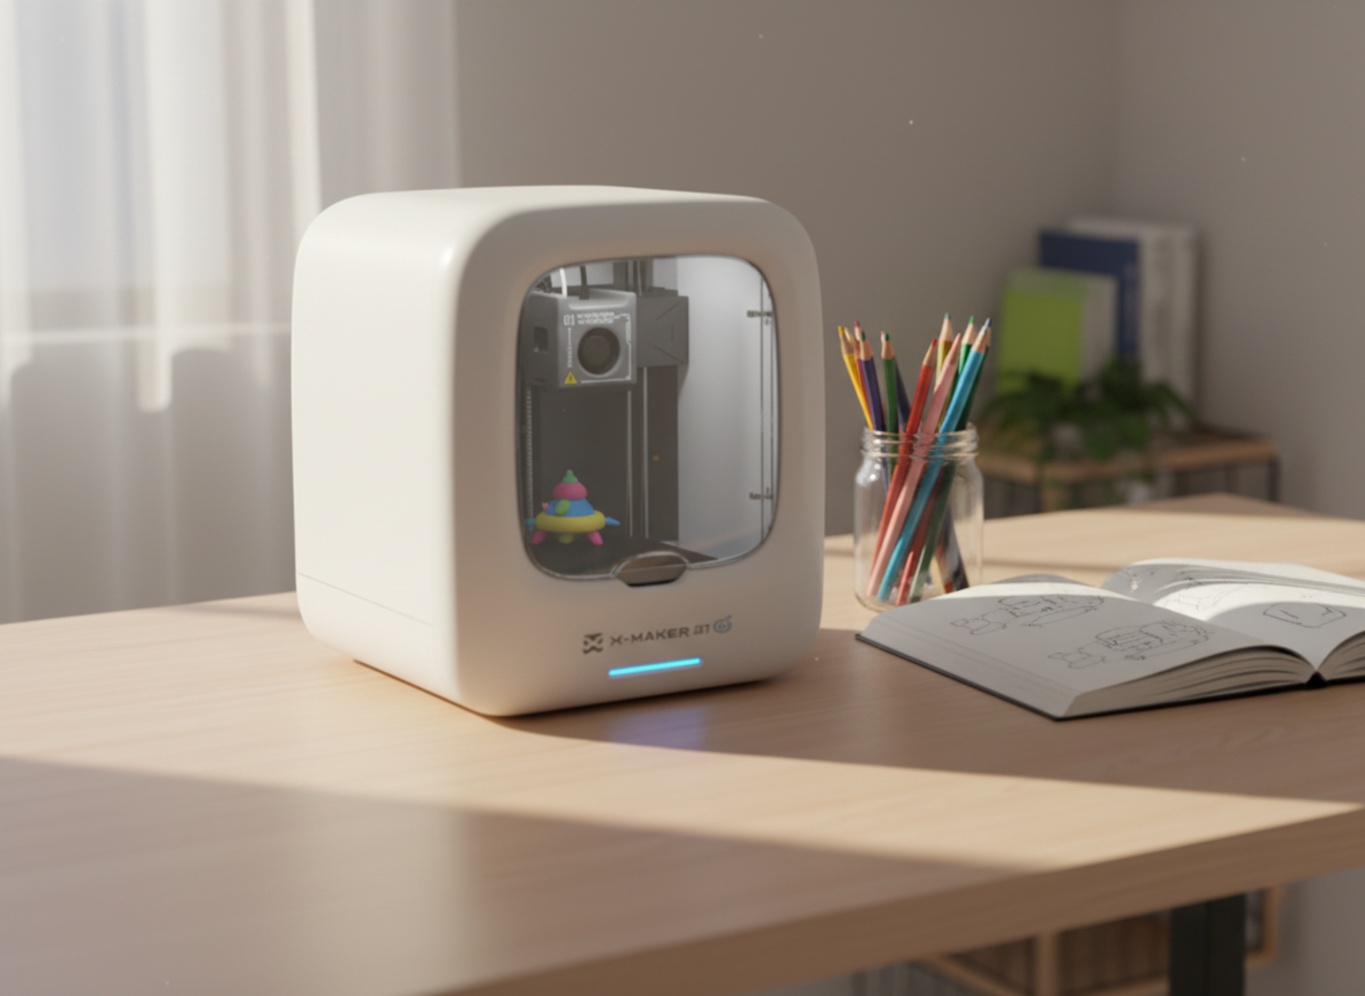
FOR FAMILIES — THE EASIEST APPROACH The cleanest path to smooth prints in a family setting isn’t a bigger machine. It’s a printer that prints clean enough to skip most of the post-processing work. AOSEED’s X-MAKER series prints at 0.12 mm layer height out of the box, with one-press slicer profiles tuned for smooth surfaces from the first model. Pair that with light wet sanding for the few projects that need extra polish, and the whole workflow stays kitchen-table friendly. No solvents. No heat guns. No subscription. |
FAQs
Does rubbing alcohol smooth 3D prints?
No. Rubbing alcohol doesn’t dissolve PLA, PETG, or any of the standard consumer filaments, so it leaves layer lines exactly where it found them. The alcohol evaporates and the print looks the same as before. A handful of specialty filaments — PVB is the usual example — do respond to isopropyl alcohol vapor, but those are niche materials home printers rarely use. For a real surface change on a PLA print(How to Smooth 3D Prints in 5 Steps), reach for sandpaper, filler primer, or epoxy. Rubbing alcohol is still useful as a quick cleaner before priming, since it strips oils and dust without attacking the plastic underneath.
How do you smooth PLA without sanding?
Three methods skip sandpaper altogether. Filler primer, sprayed in light coats, fills layer lines and dries to a matte surface in about an hour. Brushed-on epoxy resin self-levels into a glossy shell after a 24-hour cure. And the slicer trick — drop layer height to 0.12 mm and switch on ironing for flat top surfaces — gets you most of the way there before the print even comes off the bed. Card scrapers also work for shaving high spots on flat planes in a few minutes. Each of these saves the dust and elbow grease of a full sanding session, and most are safe enough for older kids with adult guidance.
Why don’t my 3D prints come out smooth?
Four causes account for almost every rough print: layer height too coarse, print temperature wrong for the filament, print speed too fast for fine detail, or a partly clogged nozzle. The first fix to try is dropping layer height from 0.2 mm to 0.12 mm and rerunning the print. A peer-reviewed PLA study found layer height accounted for nearly 80% of surface roughness differences between samples. After that, check that the bed is level, belts are tight, and the filament hasn’t absorbed moisture. Wet filament pops, strings, and prints rough even when every setting looks correct on screen.
Will a heat gun smooth PLA?
A heat gun can smooth PLA, but the margin for error is small and the method isn’t recommended for beginners or kids. PLA starts to soften around 60°C and warps above 80°C. Heat guns run at 300–600°C, so one pass too slow and the model sags or grows bubbles that can’t be fixed. If you try it anyway, work outside, hold the gun 6–8 inches from the print, keep it moving constantly, and stop the moment the surface looks glossy. Test on a scrap print first. For most family projects, sandpaper and filler primer reach the same finish with far less risk.
What solvent will smooth PLA?
No common household solvent reliably smooths PLA. Acetone, the go-to for ABS, has almost no effect on it. Ethyl acetate (found in some nail polish removers) softens PLA slowly, but results are uneven, hard to control, and the finish stays tacky for days afterward. Tetrahydrofuran and dichloromethane work in industrial settings but are too hazardous for home use. The honest answer: PLA doesn’t respond to chemical smoothing the way ABS does — which is one of the reasons it’s the safer filament for kids’ prints. Stick with sanding, filler primer, or brushed-on epoxy for any PLA finishing job at home.
Can you vapor smooth PLA?
PLA doesn’t vapor smooth the way ABS does. Acetone vapor — the standard for ABS — has almost no effect on PLA, even after hours of exposure. Some makers experiment with ethyl acetate or THF vapor on PLA, but the results are inconsistent and the chemicals carry real fire and health risks. For most home use cases, mechanical smoothing (sanding, filler primer, epoxy) is far more practical and far safer than chasing a chemical vapor solution. If a vapor-smoothed finish is the actual goal, switching to ABS for that specific project is the more reliable route — done by an adult, in a well-ventilated space, with proper PPE.
Does PLA or PETG print smoother?
PLA usually prints with cleaner, smoother layer lines than PETG straight off the build plate, and it sands more easily once cool. PETG, however, fuses more strongly between layers, which makes finished prints tougher and more impact-resistant for functional parts. A 2024 study on FDM-printed PETG identified layer height and wall thickness as the dominant roughness factors, mirroring what’s true for PLA. For display and toy prints where appearance is the priority, PLA is easier to finish. For functional parts that will be dropped, twisted, or used outside, PETG is worth the extra sanding work. Most kid-friendly 3D printers default to PLA for this reason.
How do I make PLA smooth and shiny?
The cleanest route to smooth and shiny PLA is wet sanding through to 1000 grit, then applying a clear coat or two-part epoxy resin. Start at 220 grit, step through 400, 600, and 1000, keeping the surface wet the whole way. The print will look hazy after sanding — that’s normal, and the next step restores the shine. A spray clear coat (gloss polyurethane works well) is the simpler finish. For a glassier look, brush on a thin layer of epoxy resin and let it cure for 24–48 hours. The end result is a hard, glossy surface that hides almost every layer line and resists scratches better than the raw print.
Conclusion
The shortest path to a smooth print runs through the slicer first. Drop layer height to 0.12 mm, turn on ironing for flat tops, slow outer wall speed by 20%, and most of the work is done before the print finishes. What remains is finished work: a half-hour of wet sanding, or a coat of filler primer, or both. Anything past that is for adults with the right ventilation.
AOSEED’s PLA-friendly printers handle the gentler methods cleanly. The harsher chemical methods aren’t needed, and shouldn’t be — that’s the whole point of a family creativity platform. Pay once for the right printer and the right finish workflow becomes a habit the family can repeat.
Sources
- NIST —Post-process Machining of Additive Manufactured Stainless Steel
- NIH PubMed Central —Surface Quality Enhancement of FDM Printed Samples
- NIH PubMed Central —Enhancing Surface Quality of FDM Moulded Materials through Hybrid Techniques
- MDPI Applied Sciences —Multi-Objective Optimization of PLA Biopolymer FDM 3D Printing
- MDPI Materials —Impact of Layer Height and Annealing Parameters on FDM 3D Printed Parts


You may also like
Further reading

3D Printer Unclog Nozzle Techniques: Troubleshooting Guide
Do 3D Printers Use a Lot of Electricity? Facts & Figures

How Much Does a 3D Printer Cost? (Total Ownership Cost)


