


AI-Assisted Toy Design for Kids: Helping Children Start
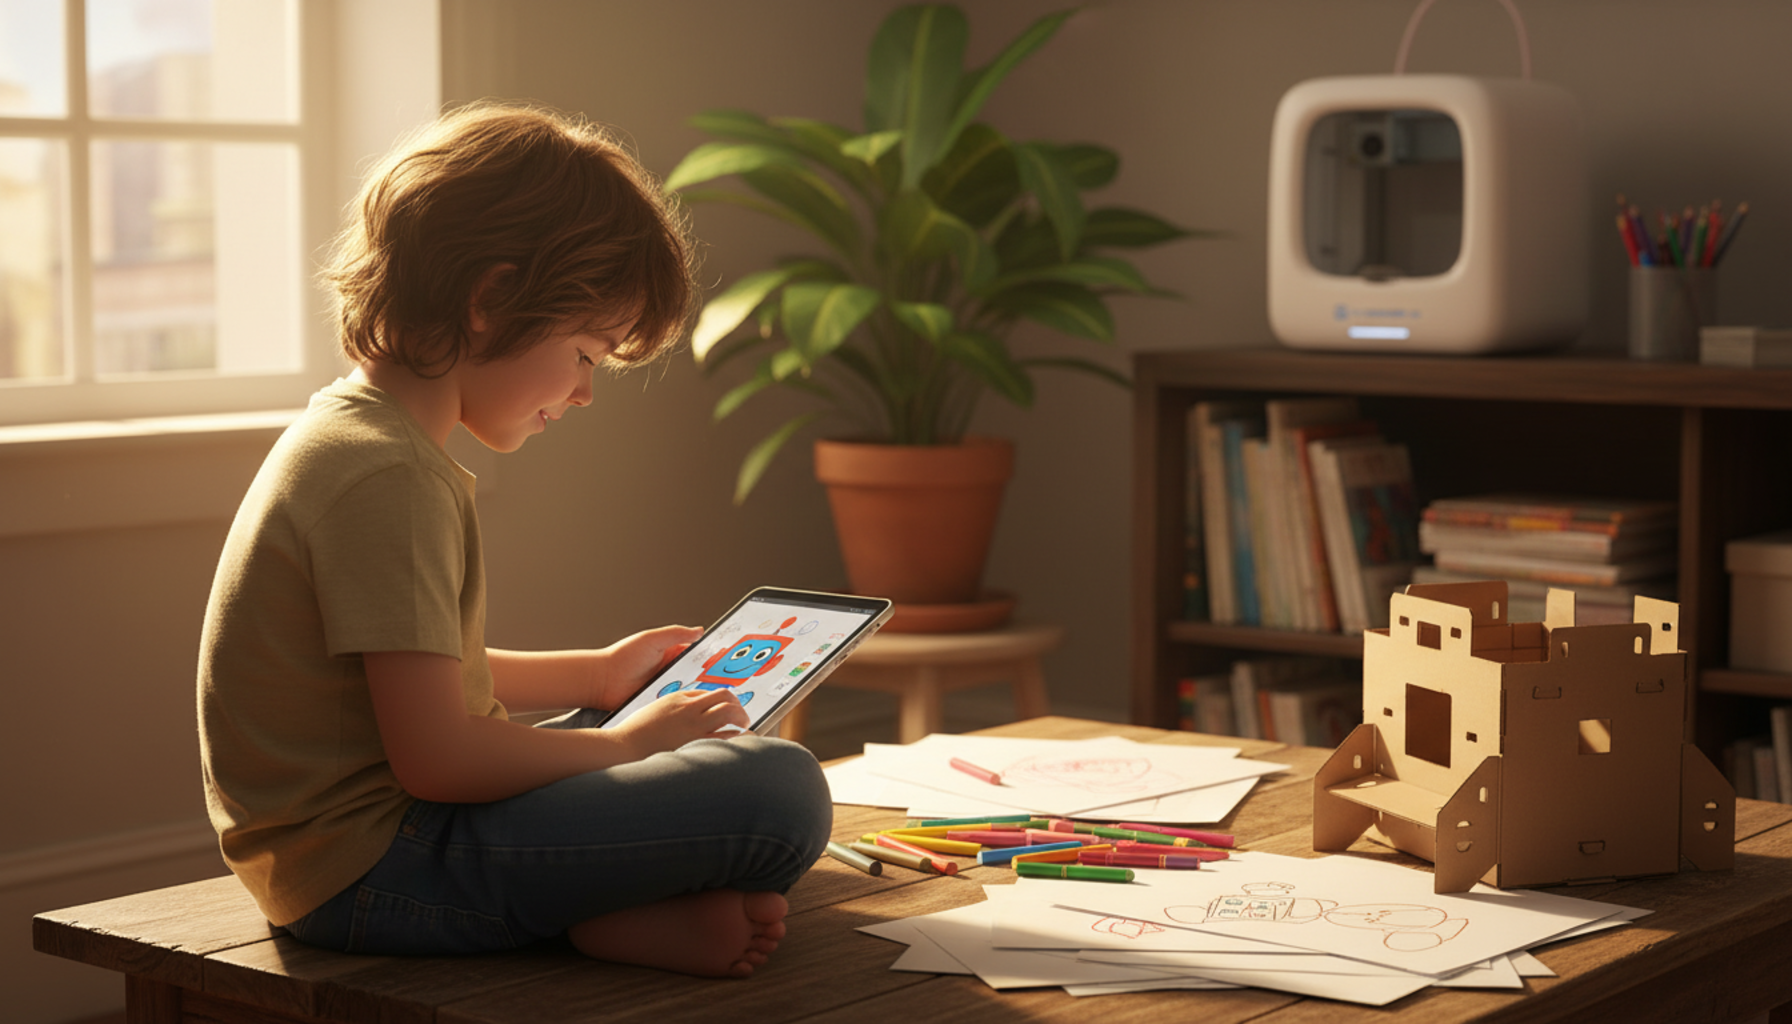
A child types six words into a free app — “purple robot dog with roller skates” — and three seconds later, four polished images appear on screen. One has fluffy ears. Another has a tiny propeller hat. The child picks one, asks for sparkles, and a new version arrives. That, in plain terms, is AI-assisted toy design for kids.
The shift matters more than it sounds. For decades, designing a toy meant being able to draw one. AI flips that. The description is the design. A child who couldn’t sketch a horse can now describe one in detail and see a usable concept in seconds.
Most family sessions land in one of three outcomes: the child loses interest after the first image, the parent ends up doing most of the work, or — best case — the child iterates ten times in twenty minutes and leaves the screen wanting to build the real thing. The difference between those outcomes is usually the setup.
|
Quick start path: Pick the toy type before opening any app. Write a specific six-to-ten word prompt. Generate three versions, pick a favorite, refine in small steps. Move from screen to paper, clay, or a 3D printer within thirty minutes. Each phase is in the numbered section below. |
What AI-Assisted Toy Design For Kids Looks Like

Most kids start with an idea they can already half-picture. The session is about closing the gap between “I sort of see it in my head” and “I can hold a version of it in my hand.” Sessions that work follow a recognisable pattern. Sessions that fail drift in predictable ways.
A Typical First Session
The child types a short description. The app produces three or four versions. The child reacts with the first specific opinion — “the ears are wrong,” “I wanted blue sneakers, not red.” That reaction is the start of the real work. Adjustments stack: ear shape, color, accessories, expression. By the fifth iteration, the toy looks like something the child actually wanted, not just what the AI gave them.
What Kids Design First
Plush animals dominate the under-eight group. Robots and vehicles come up around eight to ten. Action figures and original characters take over around eleven. Across every age, dolls and creatures tied to a real interest — astronomy, dinosaurs, soccer — produce the most engagement because the child already has source material in their head.
Where Sessions Go Off the Rails
Two failure modes show up most. First: vague prompts like “cool dragon” produce generic output, the child loses interest, the session ends. Second: the child generates ten unrelated images without picking one to refine, hits decision fatigue, and walks away with nothing built. Both are preventable with a five-minute setup conversation before opening the app.
|
What the marketing shows |
What actually happens |
|
Child invents an original toy in seconds |
Child needs 4–6 iterations to land on something they like |
|
AI does the creative work |
AI fills in visual detail; the child still picks every choice |
|
Replaces drawing |
Often increases drawing — kids copy AI versions by hand |
|
Suitable for all ages |
Best results from age 5+ with adult help |
Why Kids Love AI Toy Design

Kids do not love AI because it is new technology. They love it because it removes a specific barrier most of them have run into for years: the gap between their imagination and what they can actually produce.
Speed of Feedback
A child draws a horse, dislikes how the legs look, and has to start over. That whole loop takes ten minutes and ends in frustration. The AI version takes three seconds and produces three options. The child stays in the creative mode instead of dropping out at the “I can’t draw this” step.
Vocabulary as a Creative Tool
“Cool cars” produce nothing useful. “Low-rider with neon underglow and a panda painted on the hood” produces something specific. After a few sessions, kids start using more precise language unprompted. School writing benefits from this side effect.
No Drawing-Skill Gatekeeping
Kids who used to opt out of “design something” activities because they thought they couldn’t draw now show up. The AI does the rendering. The child does the deciding. That changes who feels invited to the activity.
The “I Made That” Moment
The first time a child sees a polished image of their own idea, they pause. Some print it immediately. Some draw it by hand from the AI version. Some build a cardboard version. That moment — visible recognition of their own idea — is the actual product these tools deliver.
What You Need Before You Start

|
Non-negotiable: Adult supervision for the first three sessions, especially for kids under 9. Privacy settings are reviewed before the child uses anything that asks for photos or voice. One device with a working browser or app. A clear stop point — a thirty-minute timer prevents the drift that ends most sessions badly. |
|
Tool |
Used For |
Notes |
|
Text-to-image app (free or trial) |
First design rounds |
Avoid tools that demand a photo upload at the start |
|
Notebook or sketch pad |
Capturing favorites |
Kids often copy AI versions by hand — paper helps |
|
Craft supplies (clay, felt, cardboard, paper) |
Building the toy after design |
Cheapest way to close the loop |
|
Home 3D printer (optional) |
Turning digital into physical |
Best for ages 8+ with adult setup |
|
Kid-focused AI design app |
Lower setup friction, safer outputs |
Avoids account walls and adult-grade UI |
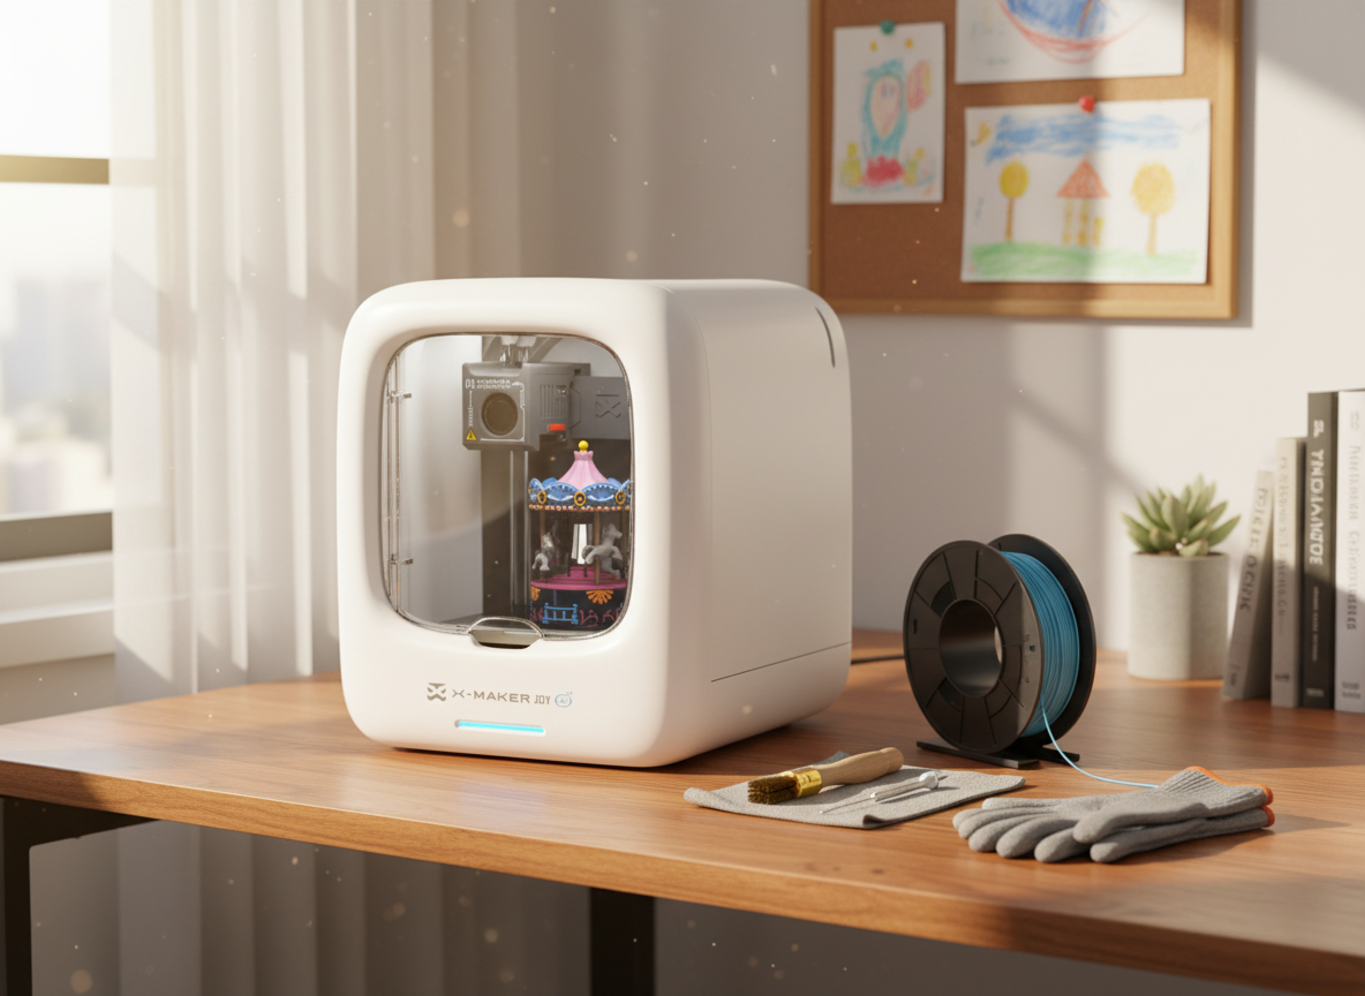
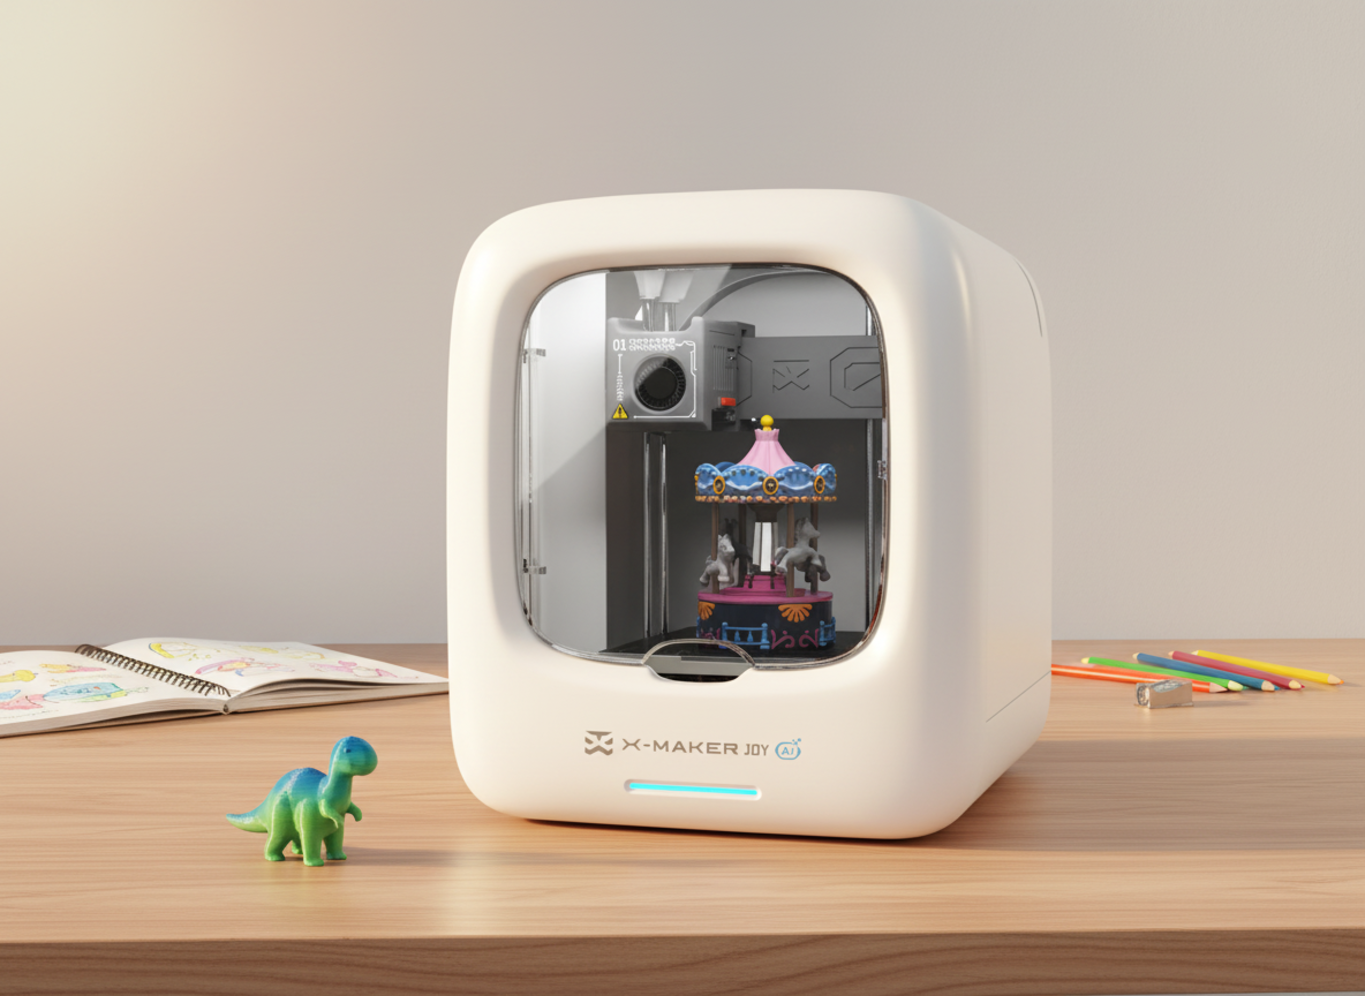
For families ready to print the result, AOSEED's family-friendly 3D printing platform pairs guided design apps with an enclosed printer that ships with 1,500+ ready-to-print models — handy when the child finishes a design and wants the physical version the same day.
|
WHEN A KID IS THE ONE DESIGNING A child does not want a long setup. They want to make something and see it in seconds. One frustrating prompt failure mid-session can end the activity entirely. Open-frame general AI tools tend to require account setup, payment cards, and adult workarounds. Pre-built kid-focused design apps — like the ones bundled with the guided design and print starter for families — handle the friction in advance. If a child under 10 is the main user, see the kid-friendly 3D printer lineup before picking a tool, since most setup happens once. |
7 Steps From Idea to Finished Toy With AI-Assisted Design

Work through these in order. Each step is slightly more involved than the last. Stop the moment the child has what they want — the goal is the smallest number of steps that produce a result they’re proud of.
Step 1 — Pick the Toy Type
Before opening any app, the child picks a single category. Plush animal, action figure, doll, robot, vehicle, fantasy creature. One category, not five. This is the most-skipped step and the most common reason sessions drift.
Step 2 — Define What the Toy Does
Behavior is harder to describe than appearance. Does it light up? Roll? Tell a story? Carry a tiny passenger? Work this out before typing. Many kids skip this step and produce visually busy designs that don’t actually do anything.
Step 3 — Write the First Prompt
Short, specific prompts beat long, vague ones. A template that works:
[Adjective] + [character or animal] + [outfit or feature] + [style]
Example: “Sleepy purple owl with rainbow boots, plush style.” Eleven words. The AI has everything it needs.
Step 4 — Generate and Compare
Most apps return three or four versions. Resist the urge to refine the first one. Compare them. Ask the child to point at the one that “feels closest” — that phrasing produces better answers than “which is best.”
Step 5 — Refine in Small Steps
Change one detail at a time. Bigger eyes. Red boots. A bowtie. Each adjustment teaches the child that specific words change specific things — vocabulary work disguised as play.
Step 6 — Parent Review
A two-minute review before moving to physical build:
- Anything sharp, spiky, or too small that could hurt a sibling?
- Any moving parts that look impossible to actually build?
- Any face that resembles a real person without permission?
- Anything that looks copied from a movie or game?
The parent’s job is not to veto. It’s to ask questions the child hasn’t thought of yet.
Step 7 — Move From Screen to Build
The design does not stay digital. The child sketches it, builds it from felt and cardboard, sculpts it in clay, or prints a small prototype on a home 3D printer. MIT Media Lab research on kids and AI devices found that children engage most deeply when they design and build with technology — not when they only watch it produce things for them.
|
QUICK BENCHMARK Steps 1–3 take under 10 minutes. Steps 4–5 (iterations) run 10–20 minutes. Step 6 (parent review) is 2 minutes. Step 7 (physical build) depends on the medium: paper or clay = same afternoon. A 3D print of a small figurine = 30–120 minutes depending on size and detail. |
AI Toy Design by Age Group

Different ages use these tools in very different ways. Match the tool to the age, not the other way around.
|
Age |
What They Can Do |
Parent Role |
Sample Prompt |
|
5–7 |
Story play, pick from options |
Type prompts, narrate choices |
“Happy purple owl with rainbow boots” |
|
8–10 |
Write own prompts, compare versions |
Suggest specifics, review safety |
“Robot dog skateboard glowing blue eyes” |
|
11–13 |
3D modeling, prototyping |
Discuss copyright and privacy |
“Articulated mech, modular panels, gunmetal” |
|
14+ |
Portfolio work, design ethics |
IP, AI ethics, monetization |
Self-directed |
How to Get the Best Results From AI Toy Design

Most weak AI sessions trace back to one of four habits. Fix these and most of the friction disappears.
Be Specific in Prompts
“Cool” and “best” produce generic output. Concrete adjectives (sleepy, grumpy, glowing, fluffy) push the AI toward something specific. Materials (plush, plastic, metal, fabric) and emotions (proud, sneaky, curious) work even better.
Iterate, Don’t Restart
Refining one image five times beats generating fifty unrelated images. Each refinement teaches the child about cause-and-effect in language. Restarting from scratch teaches nothing.
Privacy Hygiene by Default
Avoid uploading personal photos. Most AI platforms store uploads on external servers, and most weren’t built with children in mind. UNICEF’s Policy Guidance on AI and Children sets a child-rights framework for AI use — covering data privacy, age-appropriate design, and the right of children to be protected from harm in AI systems. Describe the child instead of uploading: “doll inspired by a girl with red curly hair who loves dinosaurs” gets close without sending a photo anywhere.
Time Limits That Match the Activity
Thirty minutes is enough for most sessions. Past that, kids hit decision fatigue and start picking randomly. Common Sense Media’s parents’ guide to generative AI recommends keeping AI tool use intentional, time-bounded, and supervised — with adult guidance built into the workflow rather than added after something goes wrong.
|
Creativity is supported by activity, not by access to more tools. Common Sense Media’s guidance on helping kids navigate AI emphasises hands-on, supervised exploration over passive consumption. The AI session is the warm-up. The build is the workout. |
When AI Helps vs. When to Step Away
AI helps when:
- The child has an idea but can’t draw it
- The child needs to see something to decide if they want it
- The session is a starting point, not the final product
- The child plans to build the physical version afterward
Step away from the screen when:
- The child is generating without choosing
- Frustration has overtaken curiosity
- The child has a clear idea and just needs paper
- It’s the third session in one week with no physical follow-through
When the Real Problem Is Screen Time, Not the Tool
If AI toy design has become another way for a child to spend time on a screen without producing anything, the tool is not the issue — the workflow is. The fix is structural: design on screen for fifteen minutes, then close the device and build the result for thirty.
A 2025 consumer report from PIRG, reported by NPR, found that some AI-enabled toys raised serious concerns around data collection and content safety. That was specifically about chatbot toys, not image generators — but it points at the broader principle. The healthier AI tools for kids leave a physical artifact behind, not just a screen session.
For families looking for the simplest path from idea to physical toy, the guided design and print starter for families closes that loop with minimum friction. The child designs in the morning. They paint the printed result that afternoon.
Conclusion
AI-assisted toy design works best when it shortens the gap between idea and result — not when it replaces the part of design that mattered in the first place. The child still brings the story, the silly idea, the favorite colors, the reason this toy needs to exist.
The other thing nobody tells parents before their first session: thirty minutes is enough. Past that, kids stop deciding and start drifting. Treat AI design as the warm-up, not the workout. The actual play happens after the screen closes — when the child paints the printed figurine, sews the felt version, or hands the cardboard prototype to a sibling and explains how the secret button works.
Most weak sessions trace back to skipped setup, not bad tools. Pick the toy type before opening the app. Write a specific prompt. Stop iterating once it looks right. Move to paper, clay, or print. That four-step rhythm gets most families to a result they’re proud of.
For families ready to close the loop with a physical print, the kid-friendly 3D printer lineup — and AOSEED's family-friendly 3D printing platform overall — pair the design app with a printer that ships ready to go, so the only thing standing between idea and toy is the time it takes to print.
FAQs
Can a 5-year-old use AI to design a toy?
Yes, with an adult typing prompts and narrating choices. The child picks colors and accessories; the adult writes the words.
What is the best AI tool for kid toy design?
Kid-focused apps with built-in safety filters beat general-purpose AI for most families. Lower cost, less data collection, and no account setup friction make them easier for parents and children to use together. These are AI-assisted toy design tools for kids, so parents should start with the kid-focused AI design tools highlighted in the table above before trying general AI apps.
How long does it take to design a toy with AI?
About 15–30 minutes for the design itself. Add 30–60 minutes if the child wants to build a physical version with crafts or print one in 3D.
Is it safe for kids to upload photos to AI apps?
Avoid it when possible. Photos uploaded to AI platforms are usually stored on external servers, and most tools weren’t built with children in mind.
Do AI design tools replace creativity?
No — they reduce the drawing barrier. The child still picks every choice. Vocabulary, taste, and decisions stay with the kid.
What is the AI doll trend?
A social media trend where AI tools turn photos or descriptions into collector-style doll images. For kids, use made-up characters instead of real faces.
Can AI-designed toys be 3D printed?
Yes. Use a beginner 3D modeling app to convert the 2D AI image into a printable file, then print on a home 3D printer.
What age is AI toy design appropriate for?
Ages 5+ with an adult. Independent use becomes practical around age 9–10, depending on reading and prompt-writing skills.
Sources
- NPR, "Report finds some AI-enabled toys shared inappropriate content or collected data."
- MIT Media Lab, "Kids, AI Devices, and Intelligent Toys."
- UNICEF, "Policy Guidance on AI and Children, Version 3.0."
- Common Sense Media, "Parents' Ultimate Guide to Generative AI."
- Common Sense Media, "Helping Kids Navigate the World of Artificial Intelligence."


You may also like
Further reading

Printable STEM Challenges for Grades 4-6 Using 3D Printing

Small Group 3D Printing Activity With One Printer

Elementary STEM 3D Printing: Simple Projects Teachers Can Actually Run


